Conversation Intelligence
1) About
This guide will walk you through all the steps to set up and configure Conversation Intelligence with Weflow. If you have questions or concerns, don’t hesitate to contact our support team at support@getweflow.com.
2) Prerequisites
Weflow's Conversation Intelligence is based on it's Activity Capture solution. Hence, if you have not done so yet, please review our step-by-step guide on how to set up Activity Capture first: https://help.getweflow.com/en/article/activity-capture
3) Setup
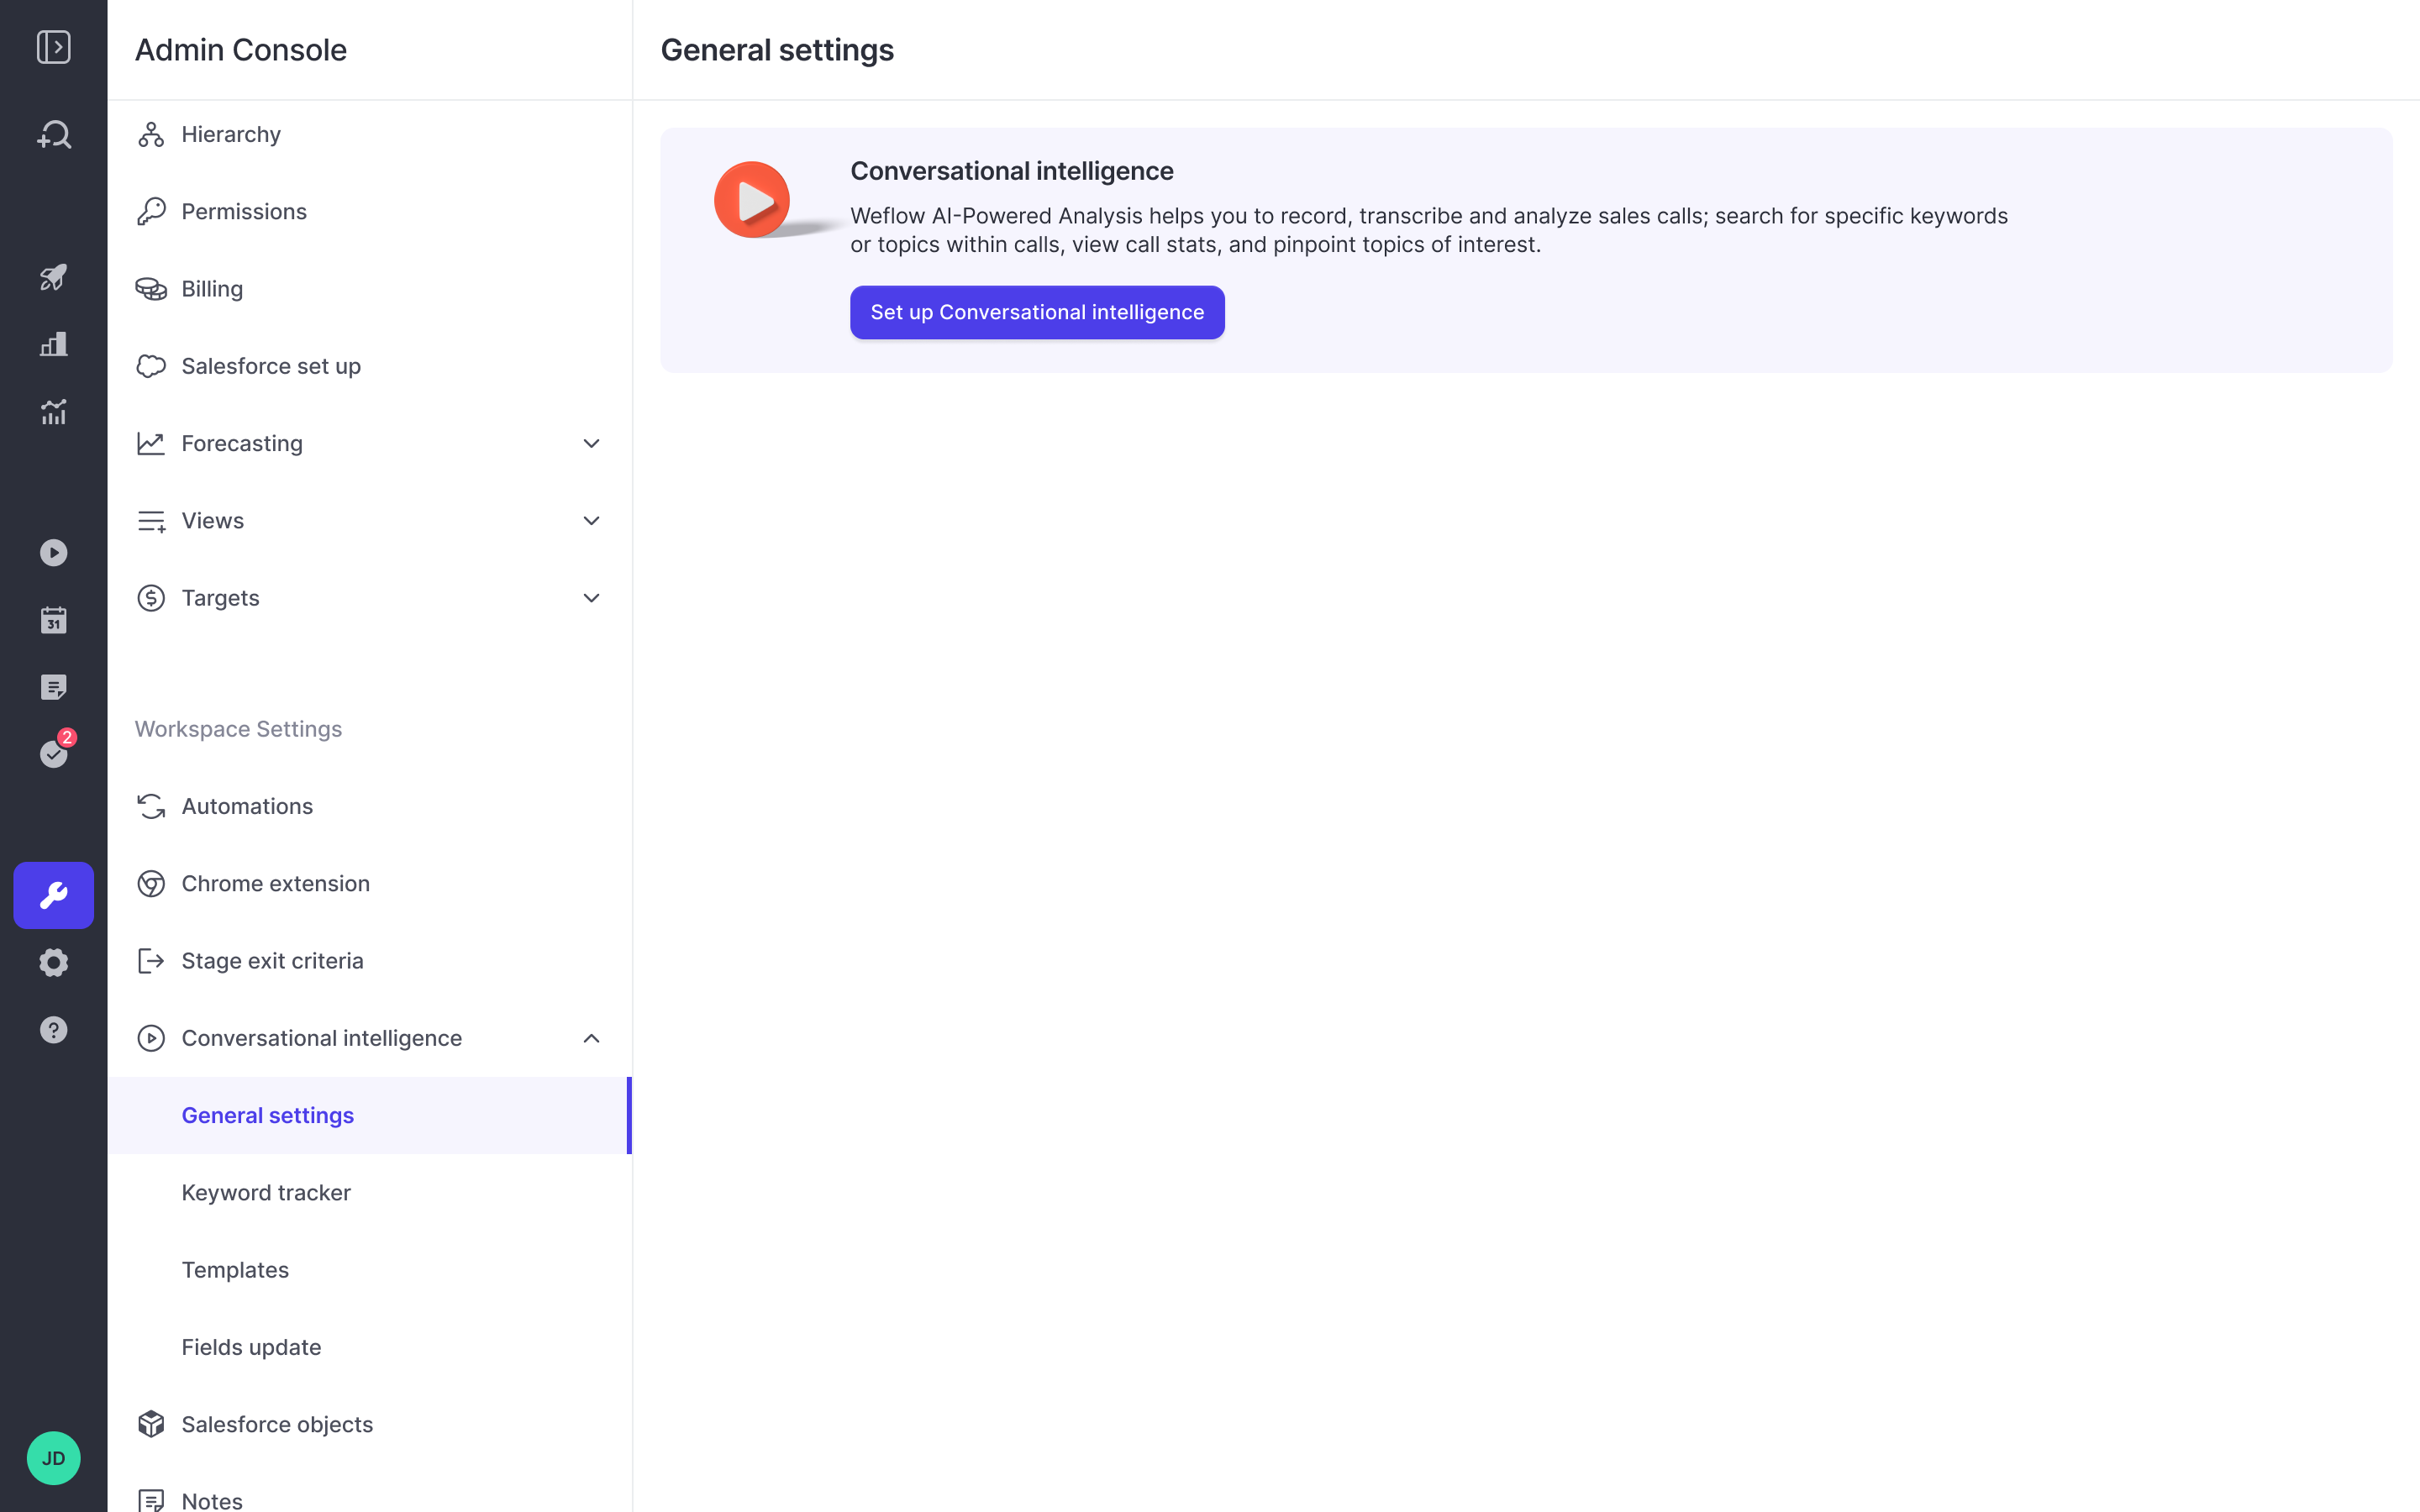
a) Go to "General Settings"
Step 1: Start setup process
- Go to General Settings
- Click on "Set up Conversational Intelligence"
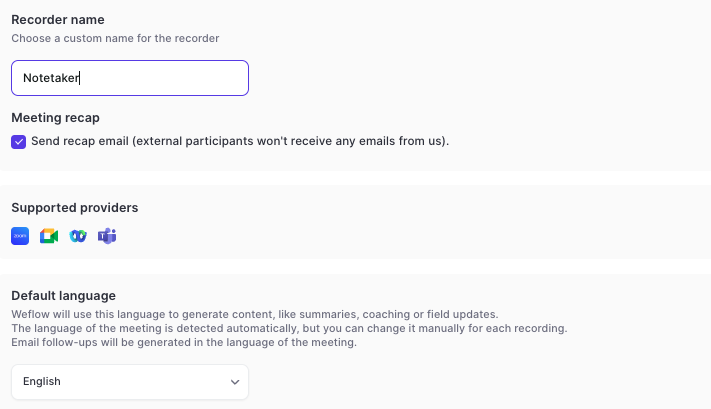
Step 2: Basic Settings
- Assign a name to the recording bot e.g. 'Notetaker'
- Define the default language for the AI output.
- You don't need to setup any integration with Teams, Meet, WebEx or Zoom.
You can always change these settings at a later point in time.
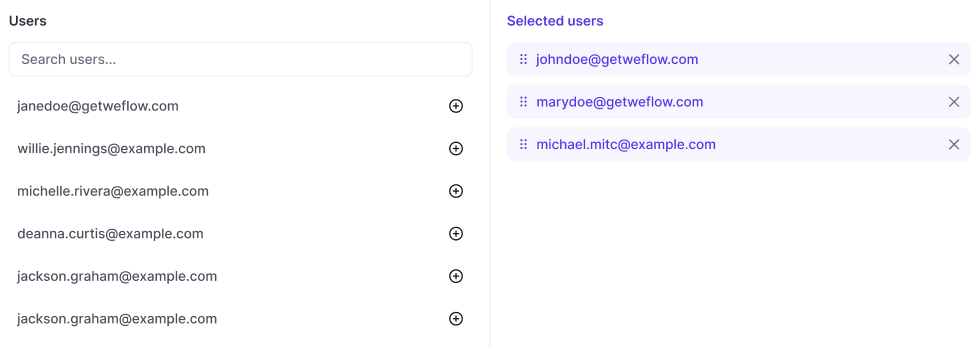
Step 3: Add Users
- You can only add users who have been activated in 'Activity Capture' prior.
- Activate users by moving them to the 'Selected users'
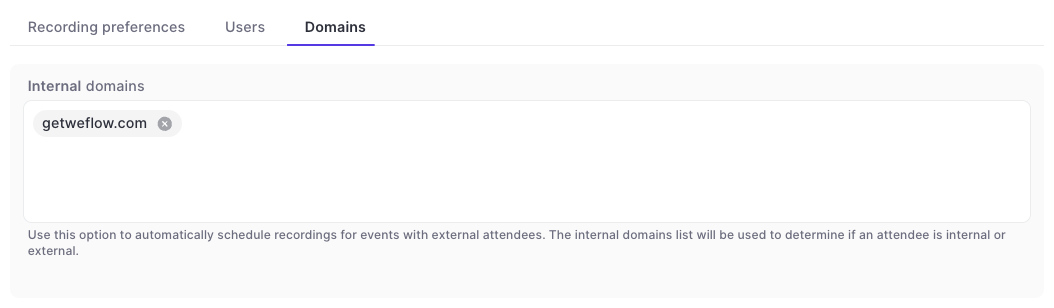
Step 4: Define Domains
- We recommend adding any internally used domains or domain aliases.
- This will help Weflow ensure that meeting summaries are only sent to participants of these domains.
- In addition, it will ensure that only meetings with at least one external participant (i.e. with a different domain) get scheduled automatically.
- You can add as many domains as needed.
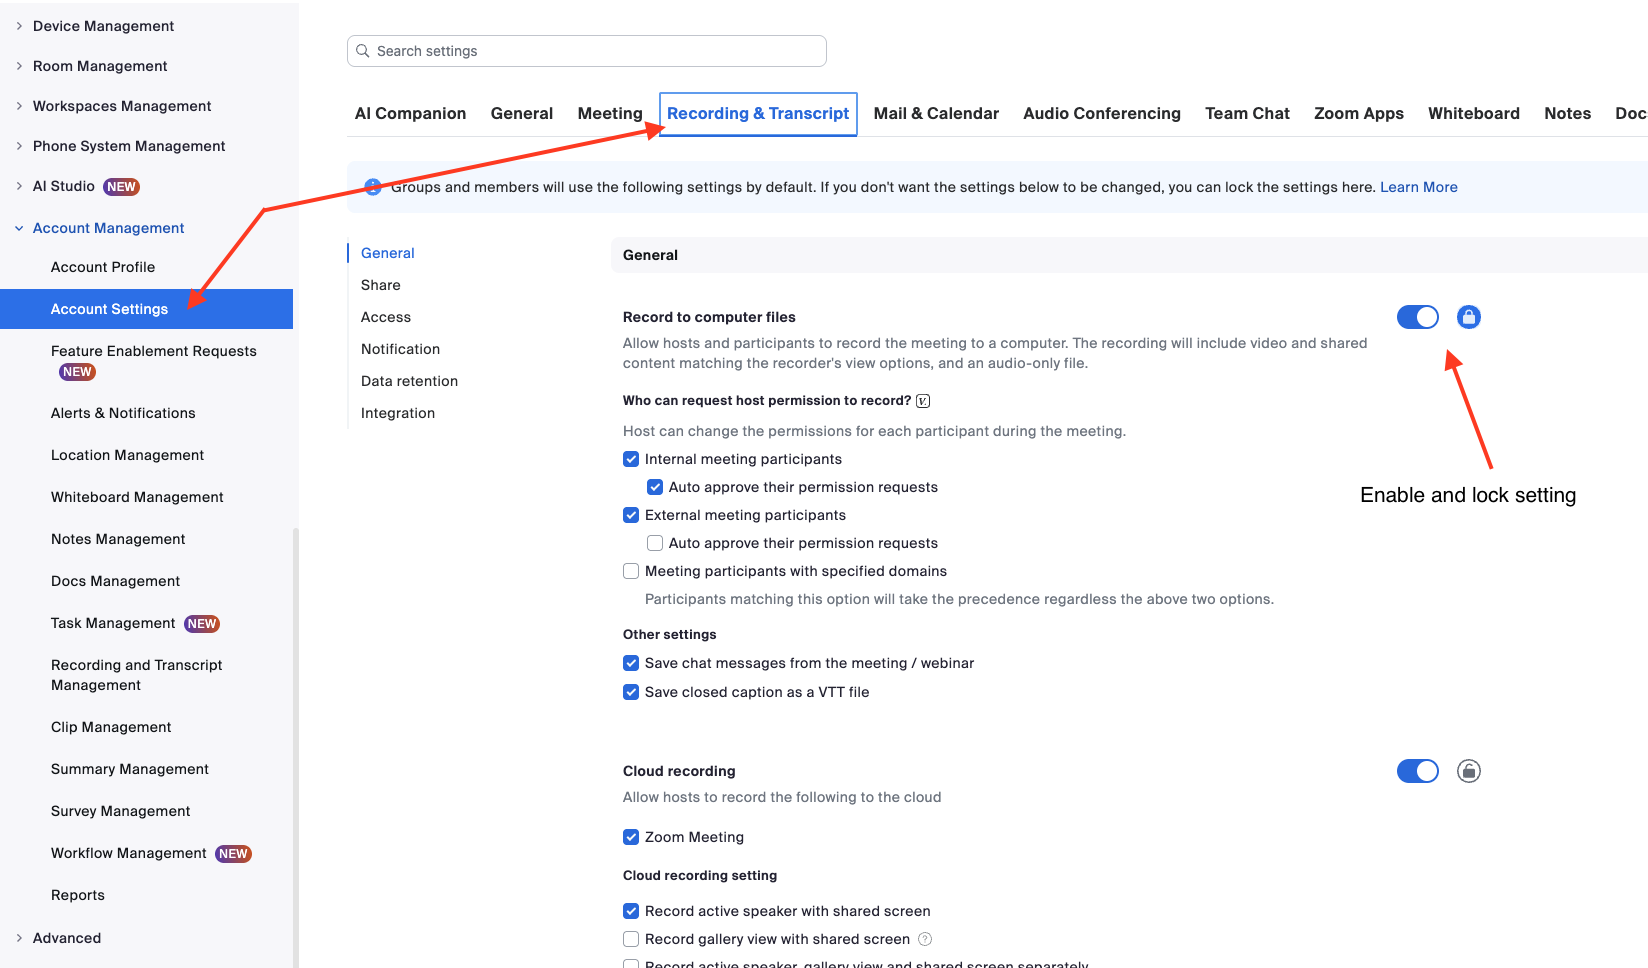
4) Zoom Settings
The following setting is needed to ensure that Weflow can reliably record meetings via Zoom. No actual recordings will be stored locally on your users computers or drive.
- Go to the Zoom Admin Console
- Click on 'Account Settings'
- Select the 'Recording & Transcript' tab
- Select 'Record to computer files'
- Lock the setting by clicking on the lock icon